FAQ Categories
More from Upload
Entering QC Data
Updated on 08.28.2025STEP
1
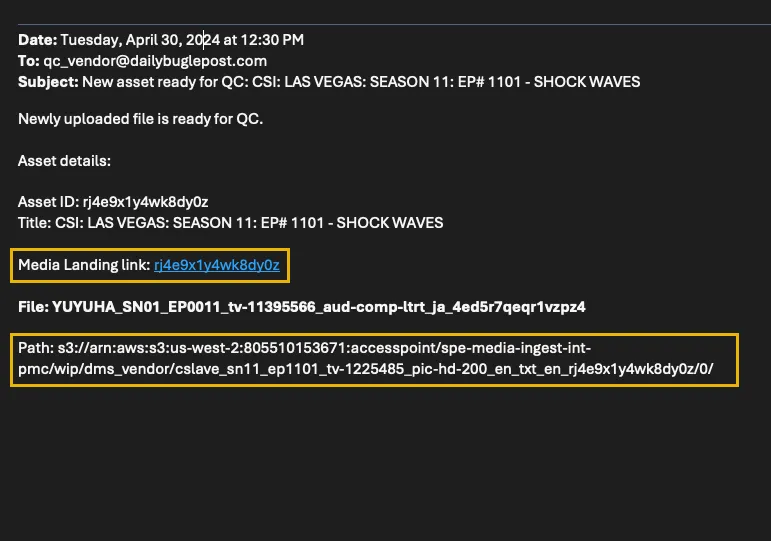
There are two ways to select assets for QC. After an asset has been ingested, you will receive a notification email with a link to the placeholder in Media Landing and to the storage location of the asset.
STEP
2
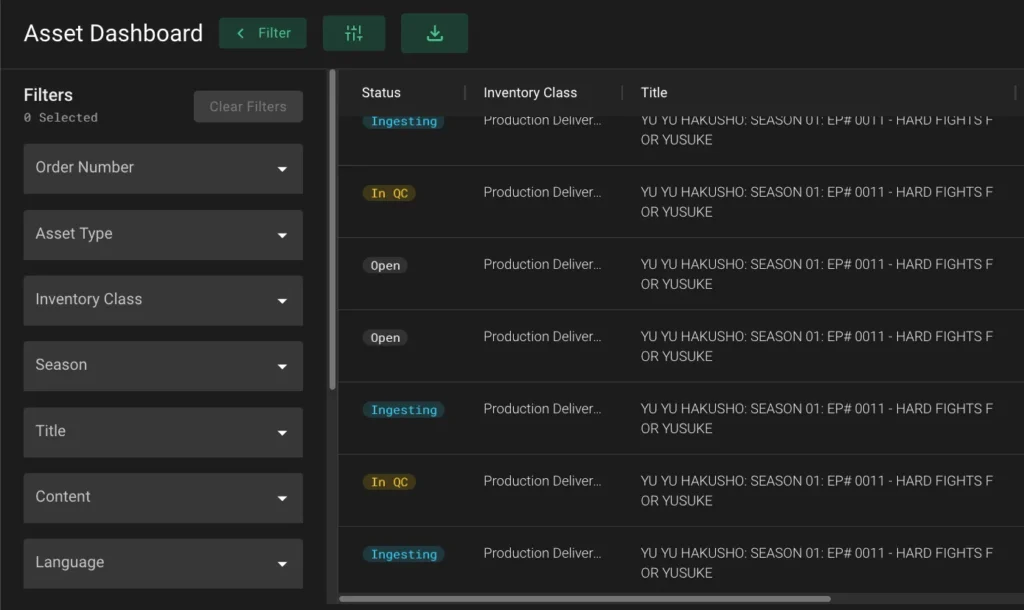
The second option is to log in to Media Landing where you will see all assets assigned to your facility.
STEP
3
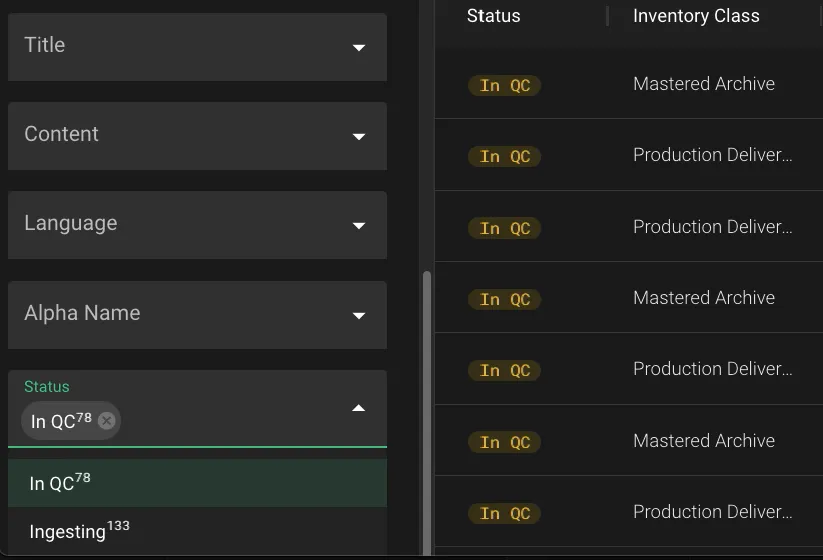
On the left side of the user interface, in the Filter Drawer, navigate to the Status button and select In QC. All Placeholders with the In QC status will be displayed in the results pane.
STEP
4
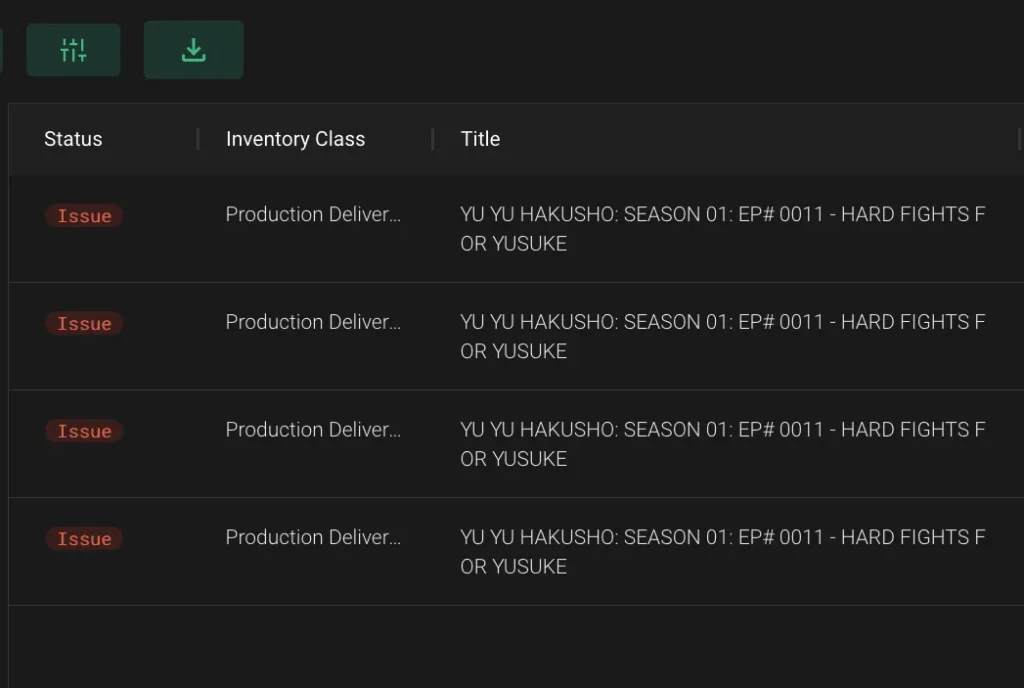
Click on a placeholder and double-check that the asset you are reviewing match the filename on the placeholder.

STEP
5
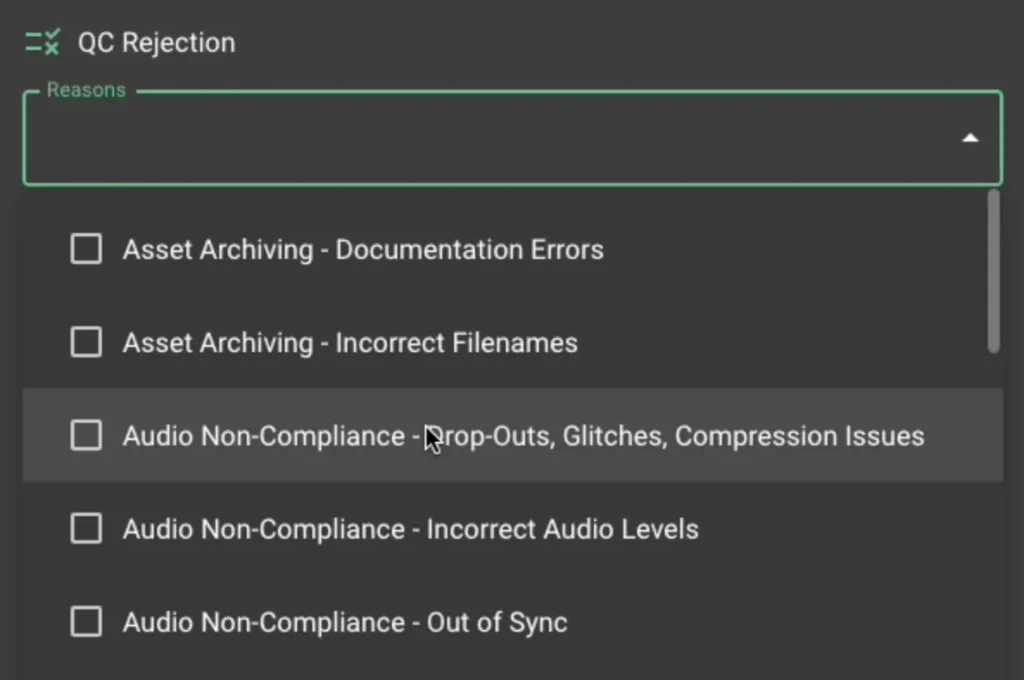
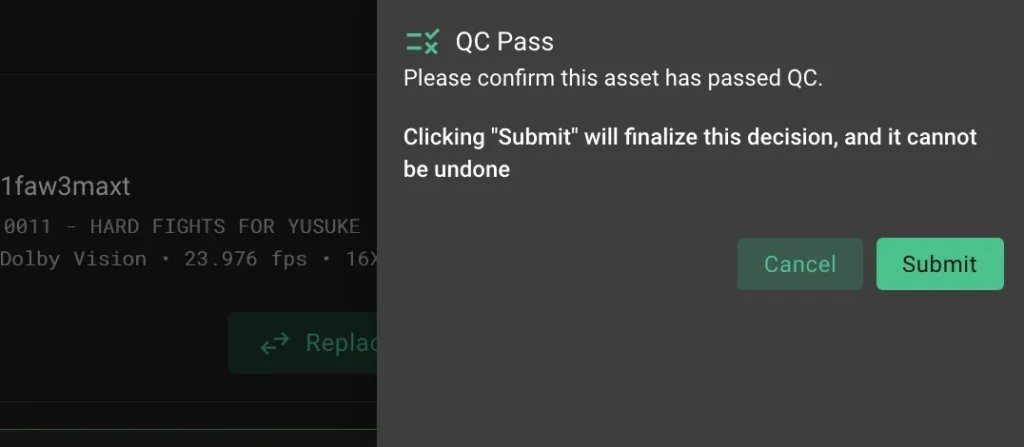
After your review, if the asset passes QC, click the Pass button. Click Submit to confirm your selection. If the asset fails QC click the Reject button. A modal will appear that will allow you to pick a rejection reason from the dropdown menu. You can also enter notes in the description box to further describe issues.
STEP
6
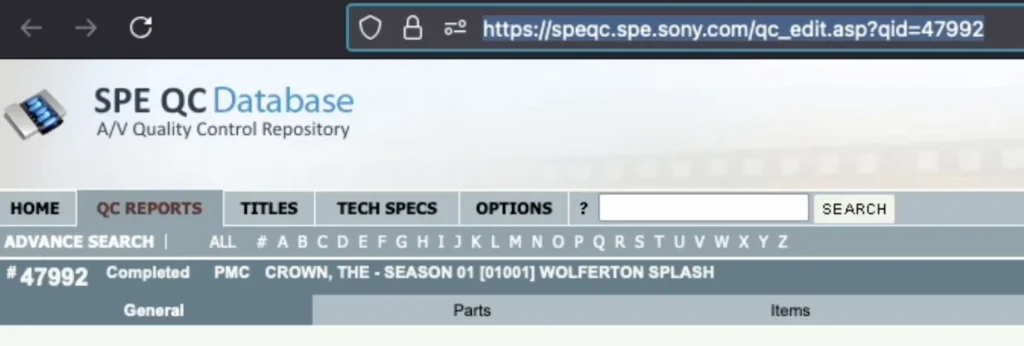
If you have access to Sony Picture’s web-based QC reporting tools, you can paste the URL for a Fix List or QC report directly into the Fix List or QC report URL fields.
STEP
7
Once you click Submit, a notification is sent to SPE Title Managers, and the creation of replacement assets begins.
For more details on the values and labels shown on the interface, see the quick reference sheet “QC Status and Actions.“