Media Landing Overview
How do placeholders and a central location for uploading assets contribute to higher asset visibility and searchability? And, how does that make everyone’s work more efficient? Find out more about Media Landing in this overview.
Using Placeholders
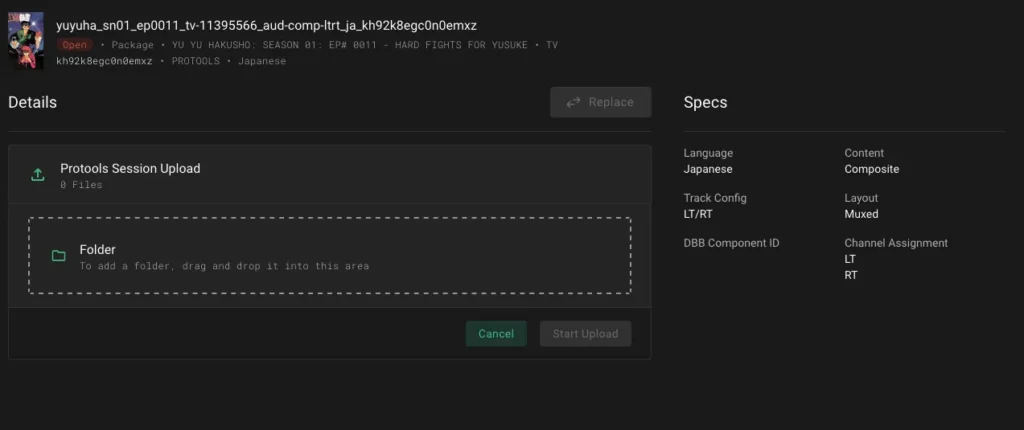
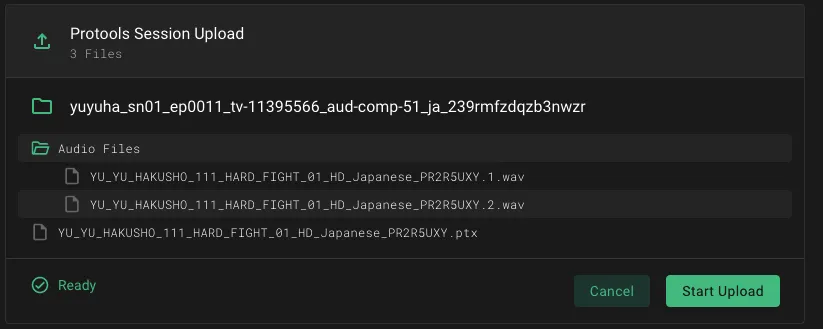
aWhat is a Placeholder? To upload to Media Landing, you’ll need one. In this tutorial, you’ll learn about Placeholder, how to upload to them, and find out how assets are verified before upload.




Using the Asset Dashboard
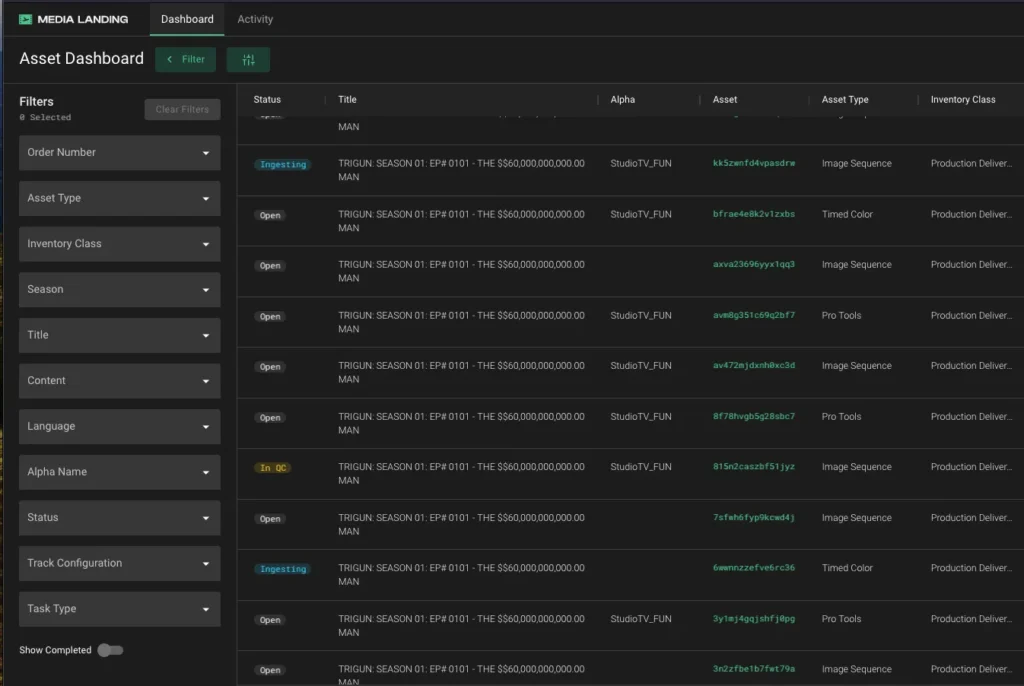
The Asset Dashboard is the first place you land after signing in to Media Landing. Find out how to search, filter, and take action on placeholders, as well as modify the user interface for maximum efficiency.
Viewing the Activity Logs
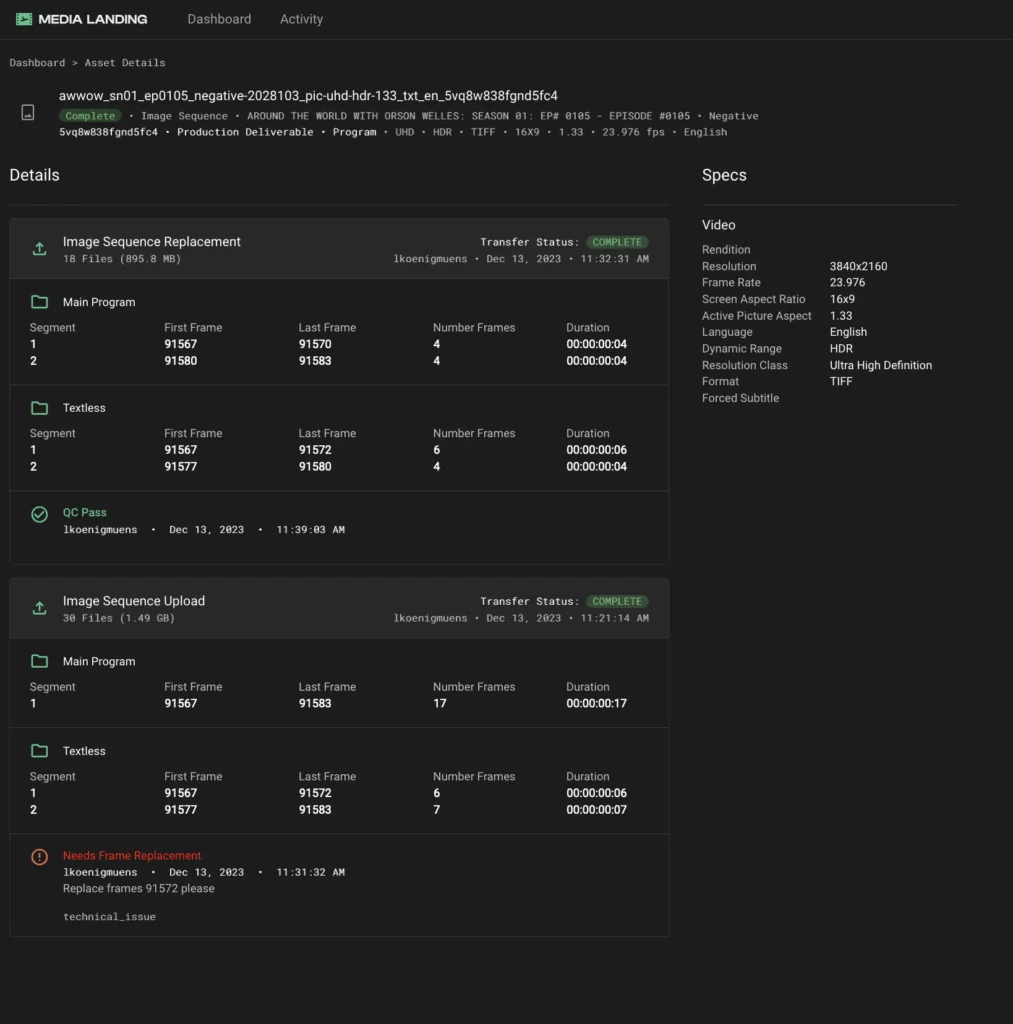
Have you uploaded files and want to know if they’ve made it to us? Are you curious if an asset has passed QC? The Activity Logs is where you find this information. This tutorial explores how to navigate the interface and what information you’ll find there.
Replacing an Asset
Do you need to replace an asset? Sometimes, an asset you’ve uploaded to Media Landing may get updated by a production and need to be replaced. This tutorial discusses locating these assets and the process of replacing them.
Entering QC Data
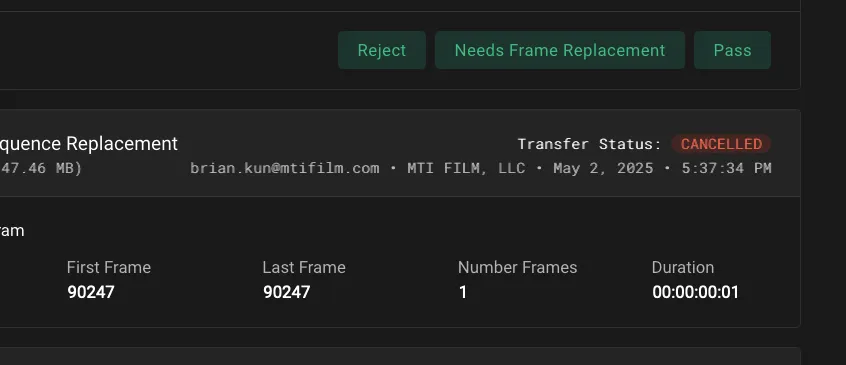
You’ve QC’d an asset and found issues. How do you report them, and what comes next? This tutorial discusses how the QC process is tracked and reported inside Media Landing.
Media Landing is a portal where users can deliver digital content in a secure environment. Instead of managing multiple delivery locations, files are uploaded to Media Landing and routed according to business rules or staged for the next step in a workflow.
Users upload against Placeholders that are pre-populated in Media Landing and contain uniform metadata. This means asset records will conform to SPE's media library standards and can be reliably discovered and reused across the studio.
Additionally, when receiving files, two validation checks are performed--one before the file reaches SPE storage and an additional check against SPE standards once uploaded.
Media Landing allows teams to know the status of files from the beginning of transfer through staging for the next process step. And it helps enable the smart use of assets for the next generation of intelligent workflows.
A QRS contains more interface-specific information than what is presented in ‘how to’ and instructional articles.